How to Set Up a Simple Mining Rig at Home
How to Set Up a Simple Mining Rig at Home
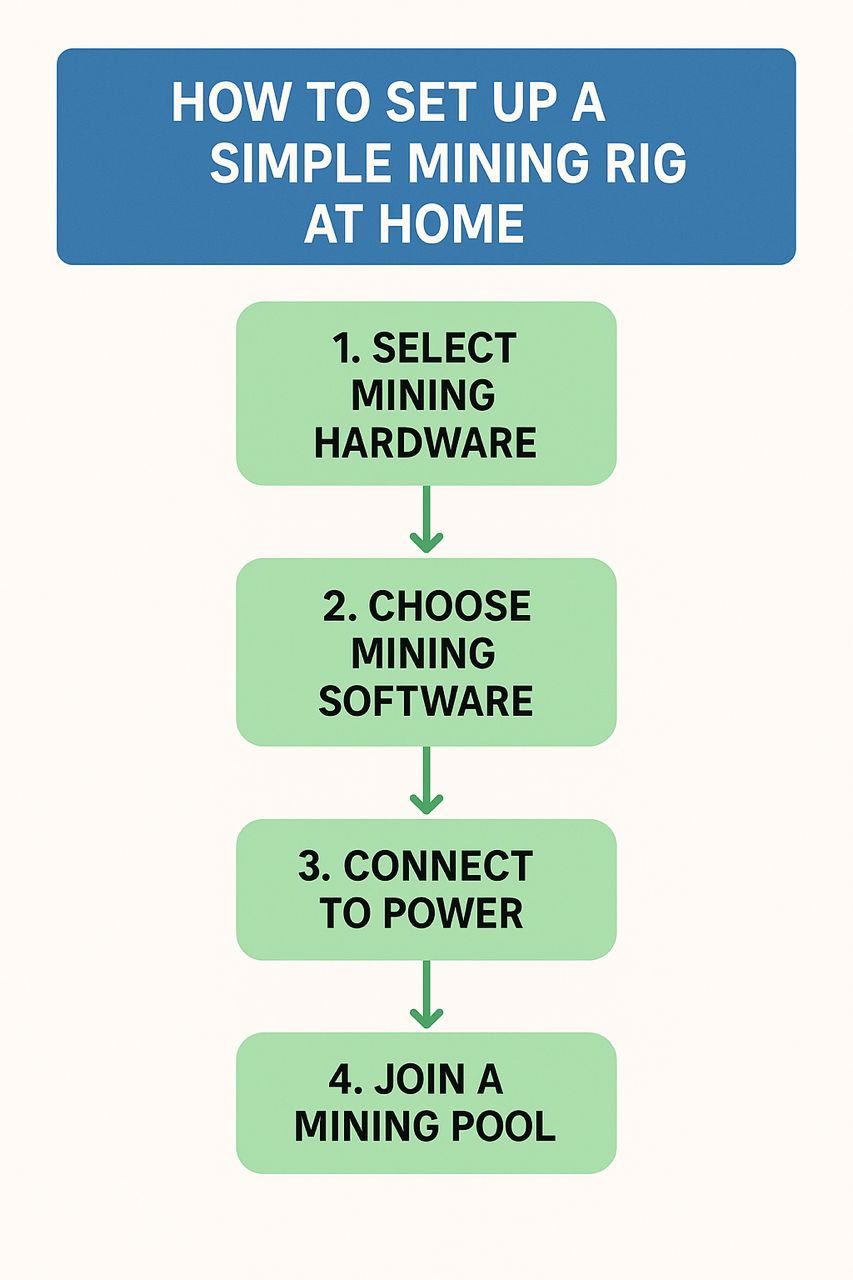
Building a cryptocurrency mining rig at home isn’t rocket science. You don’t need a computer science degree or thousands of dollars to start. With the right guidance and basic hardware knowledge, you can have your first mining rig operational within a weekend.
The crypto mining landscape has evolved significantly. Today’s home miners can achieve profitability with modest investments. This guide strips away the complexity and shows you exactly how to build, configure, and optimize your first mining rig.
Choosing Your Mining Hardware
Your mining hardware choice ultimately determines your mining success. On one hand, the eternal debate between GPUs and ASICs boils down to three factors: budget, electricity costs, and target cryptocurrency.
Graphics cards (GPUs) offer flexibility and resale value. Popular choices include the NVIDIA RTX 3060 Ti and AMD RX 6600 XT. However, these cards mine multiple cryptocurrencies and retain value for gaming. Typically, a single GPU setup costs between $400–$800, making it perfect for beginners testing the waters.
ASIC miners deliver raw power for specific coins. The Antminer S19 dominates Bitcoin mining, while the Antminer L7 excels at Litecoin. ASICs cost more upfront ($2,000-$10,000) but offer superior efficiency. They’re loud, generate significant heat, and only mine specific algorithms. You can see the difference between GPU and ASIC Miner.
Calculate your potential profits before purchasing. Use online calculators like WhatToMine or NiceHash’s profitability calculator. Input your electricity rate, hardware specs, and target cryptocurrency. If your electricity costs exceed $0.10/kWh, GPU mining becomes challenging.
How to Set Up a Simple Mining Rig Frame at Home
A proper frame prevents expensive hardware disasters. Skip the fancy aluminum frames initially. A simple wire shelving unit from your local hardware store works perfectly. You need space for airflow, easy component access, and stability.
Start with these essential components: – Motherboard with multiple PCIe slots: The ASUS B250 Mining Expert supports up to 19 GPUs – Power supply units (PSUs): Calculate 150% of your GPU’s power draw for headroom – PCIe risers: However, this $10 cables prevent GPU overcrowding and improve cooling – Basic CPU and 8GB RAM: Mining doesn’t require powerful processors – 120GB SSD: Faster boot times and reliable operation
Assembly takes patience, not expertise. Mount your motherboard on a non-conductive surface. Connect your PSU cables before installing GPUs. Always ground yourself to prevent static damage. Install one GPU first, ensure it works, then add others gradually.
Position GPUs at least 3 inches apart. Use zip ties to secure riser cables. Cable management prevents fires and improves airflow. Your completed rig should look organized, not like a spider’s web of wires.
Installing Mining Software and Joining Pools
Software installation separates profitable miners from electricity donors. Windows 10 remains the easiest operating system for beginners. Linux offers better stability but requires command-line knowledge.
Download your mining software from official sources only. Popular options include: – NiceHash: Beginner-friendly with automatic profit switching – T-Rex Miner: Excellent for NVIDIA cards mining Ethereum Classic – TeamRedMiner: Optimized for AMD GPUs – CGMiner: The veteran choice for ASIC miners
Solo mining is lottery ticket gambling. Join a mining pool to receive consistent payouts. Major pools like Ethermine, F2Pool, and Slush Pool charge 1-2% fees but provide steady income. Smaller pools offer lower fees but irregular payouts.
Configure your mining software with pool addresses and wallet information. Create a dedicated cryptocurrency wallet before mining. Hardware wallets like Ledger or Trezor offer maximum security. Exchange wallets work but risk fund freezing.
Optimizing Cooling and Power Efficiency
Heat kills mining profitability faster than market crashes. Your GPUs should stay below 70°C for longevity. Memory junction temperatures matter more than core temps. Use HWiNFO64 to monitor all temperature sensors.
Implement these cooling strategies: – Position rigs in basements or garages: Natural cool air reduces AC costs – Install box fans for active airflow: A $20 fan saves hundreds in replacement cards – Undervolt your GPUs: Reduce power consumption by 20-30% with minimal hashrate loss – Clean dust filters weekly: Clogged filters increase temperatures by 10-15°C
Power optimization doubles your profit margins. Use MSI Afterburner to find your GPU’s sweet spot. Therefore, Start by reducing power limit to 70%. Gradually decrease memory clock until hashrate drops. Most cards achieve 90% performance at 75% power.
Install smart plugs to monitor actual power draw. However, Your electricity bill tells the truth about profitability. Factor in all costs: hardware depreciation, cooling, maintenance time, and tax obligations.
Starting Your Cryptocurrency Mining Journey at Home
Finally, you can begin mining within minutes of completing setup. Run your mining software and watch the first shares roll in. However, Pool dashboards show real-time statistics and estimated earnings. Patience pays in mining—expect first payouts after 24-48 hours.
Monitor your rig’s performance daily for the first week. Temperature spikes indicate cooling issues. Hashrate drops suggest driver problems. Stable mining rigs run for months without intervention.
Mining profitability fluctuates with cryptocurrency prices. What’s profitable today might lose money tomorrow. Therefore, we suggest, you diversify your mining portfolio across different coins. Convert earnings to stablecoins during bull markets. Smart miners think long-term, not daily profits.
Finally, your home mining journey starts with a single GPU. Take action today—order your first graphics card and start learning. The cryptocurrency revolution rewards early adopters who overcome initial complexity. Every expert miner started exactly where you are now. However, By completing this How to Set Up a Simple Mining Rig at Home, you fully equipped with best knowledge to kick off.